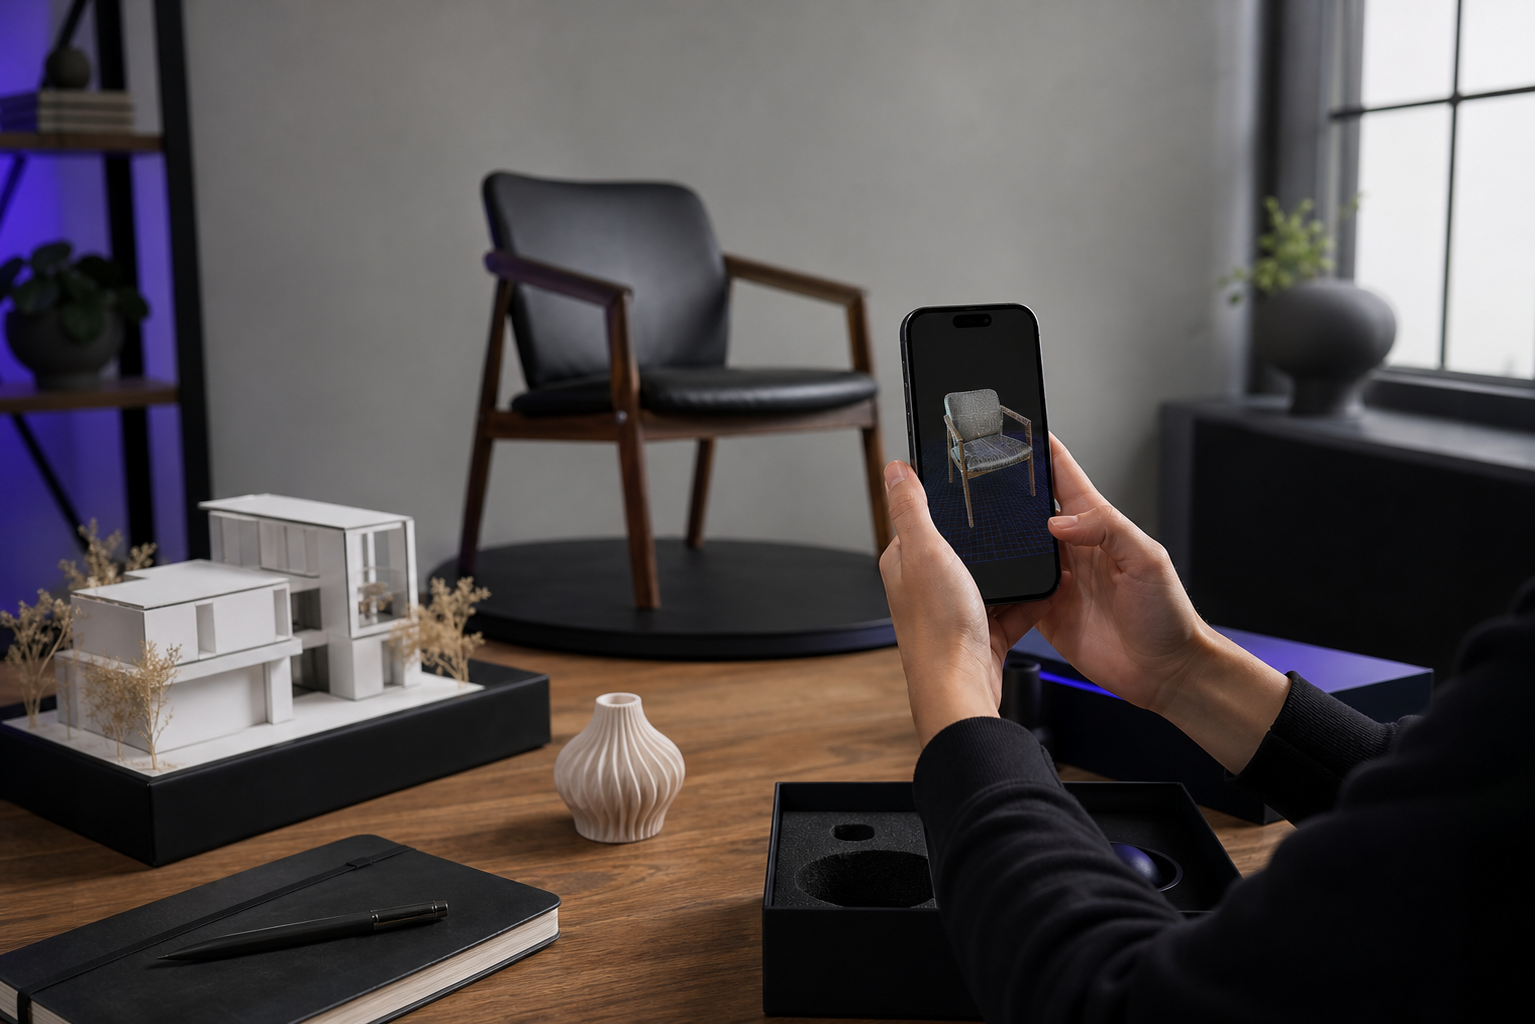
You are standing in a room you need to capture — a floor plan, a printable reference, a product model, a research dataset — and someone tells you to just use a 3d scanner. That word solves nothing. A 3d scanner might be a $60,000 survey laser on a tripod, a benchtop structured-light rig, a camera and some clever software, or the iPhone already in your pocket. Those tools share a name and almost nothing else — different hardware, different workflows, different price points separated by five orders of magnitude. Most beginner guides dodge the only question that matters: what do you actually use, and what will it cost you?

This piece is a map. By the end you will understand how 3D scanning works, which method matches your specific goal, what precision to realistically expect, and how to capture your first usable model today. And the honest through-line runs the whole way: this is not a pitch that a phone replaces every scanner. It's a guide to where a phone is more than enough — and where it genuinely isn't.
Table of Contents
- How a 3D Scanner Actually Captures the Real World
- The Types of 3D Scanners (and Which One Is Already in Your Pocket)
- What Do You Actually Want to Scan? Matching Method to Goal
- Understanding Your Output Files: Meshes, Point Clouds, and Poses
- What Precision Can You Actually Expect (and When It's Not Enough)
- Your First 3D Scan: A Step-by-Step Starter Workflow
- Common Beginner Questions About 3D Scanners
How a 3D Scanner Actually Captures the Real World
Start with the one distinction that clears up most of the confusion. A 3D scanner does not photograph a surface. It measures the distance to points on that surface, over and over, thousands of times per second, and assembles those measurements into a spatial map. A camera records color at a pixel — this pixel is red, that one is gray. A scanner records where a point physically sits in space: its X, Y, and Z coordinate relative to the device. Color is optional and comes later. Position is the whole point.
That difference drives everything downstream. Once you understand that 3D scanning is fundamentally a measurement process, the pipeline from raw capture to a finished model makes sense in four stages.
Depth sensing comes first. The sensor emits or detects a signal to measure how far away each point is. For LiDAR — the depth technology on modern iPhones — the device sends out light pulses and times how long the reflection takes to return. Light travels at a known speed, so a measured time-of-flight converts directly into a distance. Do this across the field of view at high frequency and you get centimeter-level distance measurements for a dense grid of points, many times a second.
Point measurement turns each of those distances into a coordinate. Knowing the direction a pulse was fired and how far it traveled, the device computes an exact 3D position for the point it hit. Accumulate thousands of these per second and you have a raw swarm of measured dots floating in space — a point cloud. At this stage there is no surface, no solid object, just coordinates. Dense, precise, and a little abstract.
A 3D scanner doesn't take a picture of a surface — it measures the distance to every point on it, thousands of times per second.
Surface reconstruction gives the cloud a skin. Software analyzes which points sit near each other and connects them into a continuous web of triangles — a mesh. This is the step that turns a haze of dots into something that reads as a wall, a chair, a shoe. The mesh is the geometry: the shape of the thing, without color.
Texture makes it look real. During capture, the device also records camera images. Reconstruction software selects the sharpest of those frames and projects them onto the mesh so the geometry wears the actual colors and detail of the original surface. This step is keyframe texture baking — sharp frames chosen and mapped onto the geometry rather than a blurry average of everything the camera saw. Skip it and you get a gray shell. Do it well and you get a model that looks photographed.
Those stages produce three outputs a beginner will meet, each suited to a different job. A mesh is a solid, textured surface — best for visualization, augmented reality, and 3D printing. A point cloud is the raw measured dots — best for precise measurement and reverse-engineering, because nothing has been smoothed or interpreted. Camera pose data records exactly where the camera sat for every frame — best for research pipelines like NeRF, SLAM, and photogrammetry, which need to know the viewpoint of each image to reconstruct a scene.
On a modern iPhone, all of this happens on the device. The built-in LiDAR sensor handles depth, and Apple's ARKit framework reconstructs geometry directly on the phone at centimeter-level precision — no cloud upload, no server round-trip. The hardware measures, the framework builds, and the model lands in your hands seconds later. That on-device pipeline is what makes a phone a legitimate 3d scanner rather than a toy, and it's the foundation for everything that follows.
The Types of 3D Scanners (and Which One Is Already in Your Pocket)
Every 3D scanner sits somewhere on a single tradeoff curve: precision versus cost versus accessibility. Push precision to the sub-millimeter extreme and cost climbs into six figures while portability collapses. Prioritize accessibility and you accept coarser accuracy. No tool wins on all three axes. Locating yourself on that curve is the entire decision.
Four categories cover the field a beginner will encounter.
| Scanner Type | Technology | Typical Cost | Precision | Best Use Case |
|---|---|---|---|---|
| Terrestrial / handheld laser | Timed laser pulses | $10K–$100K+ | Sub-mm to ~1 cm | Surveying, metrology |
| Structured light | Projected light pattern | $3K–$50K | Sub-mm (small parts) | Industrial inspection |
| Photogrammetry (camera only) | Overlapping photos | Camera you own | Variable | Textured hobby objects |
| LiDAR smartphone | On-device LiDAR + ARKit | $0 (own iPhone 12 Pro+) | ~2–3 cm local | Rooms, products, references |
Terrestrial and handheld laser scanners anchor the high end. They fire timed laser pulses and, according to LiDAR manufacturer YellowScan, deliver range accuracies between 0.5 mm and 10 mm relative to the sensor, with mapping accuracy around 1 cm horizontal and 2 cm vertical under good calibration. That precision costs $10,000 to well past $100,000, and the rigs are tripod-mounted or bulky handheld units. This is the tool for surveying, construction verification, and metrology, where a millimeter of error has consequences.
Structured-light scanners project a known pattern of light onto an object and read how that pattern distorts across the surface to compute geometry. They excel on small-to-medium parts, hitting sub-millimeter accuracy, and typically run $3,000 to $50,000 as benchtop or portable units. Industrial inspection and reverse-engineering of small precision components are their home turf.
Photogrammetry uses no depth sensor at all. It reconstructs 3D geometry from a set of overlapping photographs, triangulating shape from how features shift between images. The cost is a camera you already own, but accuracy swings wildly with lighting, coverage, and surface texture. It shines on richly textured hobbyist objects and situations where no depth hardware exists — and struggles on blank or shiny surfaces where the software can't find features to match.
LiDAR-equipped smartphones are the newcomer that reshaped the entry point. An iPhone 12 Pro or later carries a LiDAR sensor, and a published civil-engineering field test comparing an iPhone 16 Pro against a survey total station found roughly 2–3 cm local 3D accuracy. Added hardware cost: zero, if you own a compatible phone. It fits in a pocket and it's the right tool for rooms, product models, fabrication references, and everyday capture.
That spread explains why the market is so fragmented. According to Grand View Research, the global 3D scanning market was estimated at USD 4.28 billion in 2024 and is projected to reach USD 7.51 billion by 2030, a 10.1% CAGR. The narrower market for dedicated scanner hardware is much smaller — market-research firm MarketsandMarkets puts it at roughly USD 1.1 billion in 2023 growing to USD 1.5 billion by 2028. The gap between those two figures tells the story: most everyday capture is migrating onto devices people already carry. iPhone LiDAR now covers the majority of everyday spatial capture at zero hardware cost, which is why "which scanner do I buy" has quietly become "which mode do I use on the lidar 3d scanner in my pocket."
What Do You Actually Want to Scan? Matching Method to Goal
Precision specs matter less than fit. The right 3d scanner is the one whose output drops cleanly into your next tool. Find your goal in the matrix, then read the workflow that goes with it.
| Your Goal | Who It Fits | Capture Mode | Output Format |
|---|---|---|---|
| Scan a room / space | Architects, real estate | Mesh | OBJ / USDZ |
| Scan an object for 3D printing | Makers, hobbyists | Mesh / Point Cloud | OBJ → STL |
| Create a product listing model | E-commerce sellers | Textured Mesh | USDZ |
| Build a NeRF / SLAM dataset | CV / robotics researchers | Pose+Video / MultiCam | HEVC + camera poses |
The right scanner isn't the most expensive one — it's the one that outputs the file format your next tool actually needs.
The space capturer — the architect, interior designer, or real estate professional — scans a room. Mesh mode is the fit, exporting OBJ or USDZ. That single capture becomes a floor-plan reference for measuring wall lengths and clearances, a walkthrough asset for client presentations, and an AR preview a buyer can drop into their own space. Walk the perimeter slowly, keep corners in frame, and one pass gives you geometry you can measure against and share. The architect workflow scales from a single room to whole floors — see how to create a building 3D model with your iPhone LiDAR scanner for the full-structure version.
The fabricator — the maker or 3D-printing hobbyist — scans an object. Mesh mode captures the shape; Point Cloud mode captures raw measured points when you need to reverse-engineer exact dimensions. Export OBJ and convert it to STL, the format every slicer speaks. This is how you turn a broken bracket, a discontinued knob, or a hand-carved original into a printable digital file without touching CAD from scratch. The scan becomes your starting geometry; you clean and print from there.
The seller — e-commerce and marketplace merchant — needs a product listing model. A textured mesh exported to USDZ is the target. Drop that USDZ onto a product page and shoppers rotate the item in 3D or place it in their room through AR Quick Look on iOS. A rotatable, true-to-scale model does what a flat photo can't: it answers "how big is this and what does it actually look like" before the customer buys.
The researcher — computer vision or robotics — needs a dataset, not a pretty model. Pose+Video or MultiCam mode delivers HEVC video paired with frame-accurate camera poses. NeRF, SLAM, and photogrammetry pipelines consume exactly this: the imagery plus the precise viewpoint of every frame. The poses are the valuable part — they're what let an algorithm reconstruct 3D structure from 2D frames.
One app spanning all four of those jobs is unusual. Most tools lock you into a single workflow. Voxelio's four capture modes — Mesh, Point Cloud, Pose+Video, and MultiCam — exist because the space capturer, the fabricator, the seller, and the researcher each need a different output from the same underlying sensor. Match the mode to the goal and the format takes care of itself.
Understanding Your Output Files: Meshes, Point Clouds, and Poses
Export is where beginners stall. You finish a scan, tap save, and face a list of file formats with no obvious meaning. Here is what each one is and what opens it.
Textured mesh (OBJ / USDZ) — This is the solid, textured model: geometry plus the baked-on camera detail. OBJ is the universal interchange format — it opens in Blender, in CAD packages, and in nearly every 3D application, making it the safe default when you're unsure. USDZ is Apple's format and opens directly in AR Quick Look on iOS, letting anyone view your model in real space from a link or a message. Reach for a textured mesh when you need visualization, AR, or a base for 3D-print preparation.
Colored point cloud (PLY) — This is the raw measured data: the actual scanned dots, each carrying its own color. Because nothing has been smoothed into a surface, point clouds are the honest record of what the sensor measured, which makes them ideal for precise measurement, reverse-engineering, and feeding into other spatial software. For cross-tool work there's a vendor-neutral option worth knowing: the ASTM E57 (E2807) file format, an open standard for exchanging point clouds, images, and metadata across different scanners and software. According to the NIST ASTM E57 3D Imaging Systems Committee, the standard was built specifically so scanner outputs move reliably between platforms. Why a beginner should care: an open format means your scan isn't trapped inside one app. Researcher Daniel Huber's technical description of E57 emphasizes support for multiple point clouds in a single file, explicit coordinate systems, and extensible metadata — the plumbing that keeps data portable years later.
Camera pose data + HEVC video — This pairing is a frame-accurate record of where the camera sat for each frame of a capture, delivered alongside efficient HEVC video. Photogrammetry, NeRF, and SLAM pipelines consume exactly this combination: the imagery plus the exact viewpoint of every shot. Without poses, an algorithm has to guess where each photo was taken; with them, it can reconstruct scene geometry directly.
USDZ, specifically — Worth a second look because of what it unlocks for sellers. A USDZ file drops into a website, previews inside iMessage, and renders in real space through AR Quick Look. That's the format that converts a flat product photo into a rotatable, placeable 3D listing — the difference between showing a customer a picture and letting them stand a virtual product on their own desk.
One practical note on all of it: this reconstruction and export runs on-device. Nothing uploads to a server, everything works offline, and your captures stay private. When you're building a library of scans across projects, that local-first approach also makes files easier to keep in your own control — see building a 3D scanning library: tools, formats, and organization tips for a workflow that keeps exports sorted.

What Precision Can You Actually Expect (and When It's Not Enough)
Here is the realistic envelope, stated plainly. Smartphone LiDAR delivers roughly 2–3 cm local 3D accuracy. For scanning a room, modeling a product, or capturing a reference object, that is excellent — comfortably tighter than the tolerances those jobs demand. A published civil-engineering field test comparing an iPhone 16 Pro against a survey-grade total station confirmed those local figures, measuring 3D errors on the order of 2–3 cm on curb and gutter features.
The same test also exposed the honest limitation: drift. While local accuracy held at 2–3 cm, the phone accumulated about 2 feet of positional error over a 100-foot span. That happens because small measurement errors compound as the device tracks its own movement across a large area. The practical takeaway is sharp — phone LiDAR is superb for a single room or a single object, where distances are short and error has no room to snowball. It becomes unreliable for large-site surveying unless you introduce control points to correct the accumulating drift.
Centimeter accuracy is a limitation for a machinist and a superpower for everyone else.
There are jobs where a dedicated survey or metrology laser remains mandatory: tight-tolerance engineering, sub-millimeter industrial inspection, forensic-grade vehicle geometry. A forensic engineering comparison from consulting firm JS Held found that mobile LiDAR produced centimeter-scale discrepancies on complex vehicle shapes against high-precision terrestrial scanners, and concluded it remains unsuitable as a sole tool for metrology-grade forensic work. That's not a knock on the technology — it's a statement about where its accuracy ceiling sits relative to the task.
For contrast, the survey-grade benchmark: high-end LiDAR mapping achieves roughly 1 cm horizontal and 2 cm vertical accuracy under good calibration, with sensor range accuracy between 0.5 mm and 10 mm, according to YellowScan. That's an order of magnitude tighter than phone LiDAR — and it costs an order of magnitude more, requires a stable platform, and demands GNSS/IMU support and rigorous QA/QC. You pay for that precision in dollars, weight, and workflow.
Whatever tool you use, four factors under your direct control determine whether your scan comes out clean or noisy:
- Lighting — Even, ample light is best. Deep shadow starves the camera of detail for texturing, and harsh glare confuses the depth read. Bright and diffuse wins.
- Surface type — Matte surfaces scan cleanly. Glass, mirrors, chrome, and dark glossy finishes scatter or absorb light and confuse depth sensing, leaving holes. Dust or mask reflective surfaces when you can.
- Distance — Stay within the sensor's effective range. Too far and resolution degrades, points thin out, and fine detail disappears.
- Motion — Move slowly and steadily. Fast, jerky sweeps cause gaps and misalignment because the software loses track between frames.
One last caveat, and it's important enough to override any spec sheet: accuracy is not a single fixed number. It depends on range, on the properties of what you're scanning, and on your workflow. A figure that holds on a matte wall at three feet won't hold on a glossy sculpture at fifteen. The reliable move is to test on your own subject rather than trust a headline number — run one scan of the thing you actually care about, measure it against a known dimension, and you'll know exactly what your setup delivers.
Your First 3D Scan: A Step-by-Step Starter Workflow
Enough theory. Here is how to capture a usable model today, in six steps.
1. Confirm device compatibility. You need an iPhone 12 Pro or later — the Pro and Pro Max models carry the LiDAR sensor; standard models don't. No external hardware, no dongle, no add-on. If you own a compatible phone, you already own the scanner.
2. Download a free 3D scanner app. The app is free to download with no subscription — that's the accessibility point that removes the last barrier. Install it, grant camera access, and you're ready to capture without spending anything.
3. Choose your capture mode. Pull up the matrix from earlier: Mesh for rooms and objects, Point Cloud when you need raw measurement data for reverse-engineering, Pose+Video or MultiCam when you're building a research dataset. Pick the mode that matches your goal before you start, because the mode determines your output format.
4. Prep your subject or space. Apply the four quality factors: turn on the lights, clear clutter that will confuse the reconstruction, and deal with reflective surfaces by dusting or masking them. Two minutes of prep saves you a re-scan.
5. Capture with steady, overlapping passes. Move slowly and keep your subject in frame, overlapping each pass so the software has enough shared geometry to stitch. For a room, walk the perimeter at a steady pace. For an object, orbit it completely at two different heights so you capture both the sides and the top faces.
6. Review, then export. Before you leave the app, inspect the model for holes or noisy patches. Re-scan any gaps — it takes seconds while you're still set up. When it's clean, export to the format your workflow needs: OBJ or USDZ for meshes, PLY for point clouds, HEVC plus poses for research.

Your first scan will not be perfect. That's expected, not a failure. The second one is dramatically better once these six steps become muscle memory — and by the third, prep, capture, and export take you a couple of minutes without thinking about them.
Common Beginner Questions About 3D Scanners
Do I need special hardware to start 3D scanning? No external sensor required. An iPhone 12 Pro or later has the LiDAR sensor built into the phone, and the app handles depth sensing, reconstruction, and export on-device. If you're on a compatible model, the only thing left to do is install an app.
Can I 3D scan without an internet connection? Yes. Capture, mesh reconstruction, texture baking, and export all run locally on the device. Scanning works fully offline — useful on a job site with no signal — and because nothing uploads, your captures stay private to your phone.
Will my 3D scan work with my 3D printer or CAD software? Yes. Export OBJ and convert it to STL, which every slicer accepts, and you're ready to print. Point clouds in PLY and meshes in OBJ import into CAD and modeling tools for measurement and further design work. The format you choose at export determines which tool opens it cleanly, so pick based on where the file is headed next.
How is smartphone LiDAR different from a dedicated laser scanner? It's the precision-and-cost tradeoff in one answer. Survey lasers reach sub-millimeter to roughly 1 cm accuracy but cost $10,000 and up, run on tripods, and require calibration and platform stability. Phone LiDAR delivers about 2–3 cm local accuracy at zero added hardware cost and fits in your pocket. For rooms, products, and references, that 2–3 cm is plenty; for metrology and tight-tolerance engineering, the dedicated laser stays essential.
Is there a free 3D scanner app that exports professional formats? Yes — a free 3D scanner app with no subscription can export textured OBJ and USDZ meshes, colored PLY point clouds, and HEVC video with frame-accurate camera poses. That format range is what lets a single free tool serve the hobbyist prepping an STL, the seller building a USDZ listing, and the researcher assembling a NeRF dataset — the same capture, exported to whatever the next stage of your workflow demands.